Visual Studio Code
Using Visual Studio Code with the latest PowerShell extension provides a great experience for writing PowerShell code. The extension includes Pester-specific features to improve the way you write, run and debug Pester tests.
Code lens
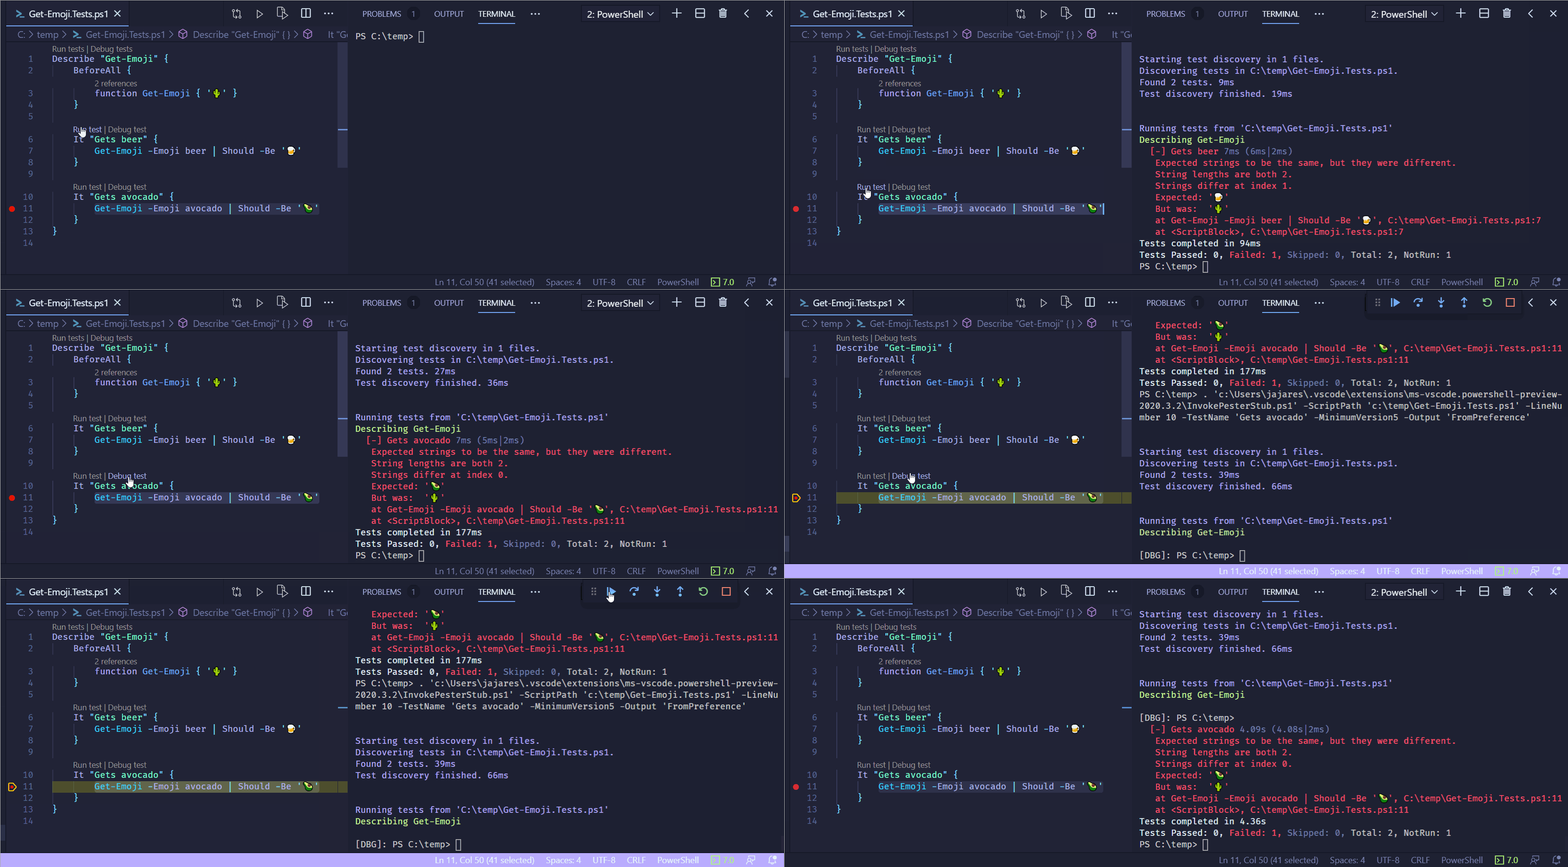
With the Pester: Code Lens setting enabled, VSCode will show Run tests or Debug tests links above your Pester blocks for quick execution. Starting with Pester 5 this also works on individual tests. You can even run tests that are marked as skipped by running them individually.

To enable the improved code lens for Pester 5 you need to disable the "Use Legacy Code Lens" setting which is enabled by default.
- In Visual Studio Code, open File | Preferences | Settings (⌘/Ctrl + ,)
- In the Settings window, navigate to the Extensions | PowerShell section.
- Uncheck the Pester: Use Legacy Code Lens checkbox.
- Close the Settings window.
Output verbosity
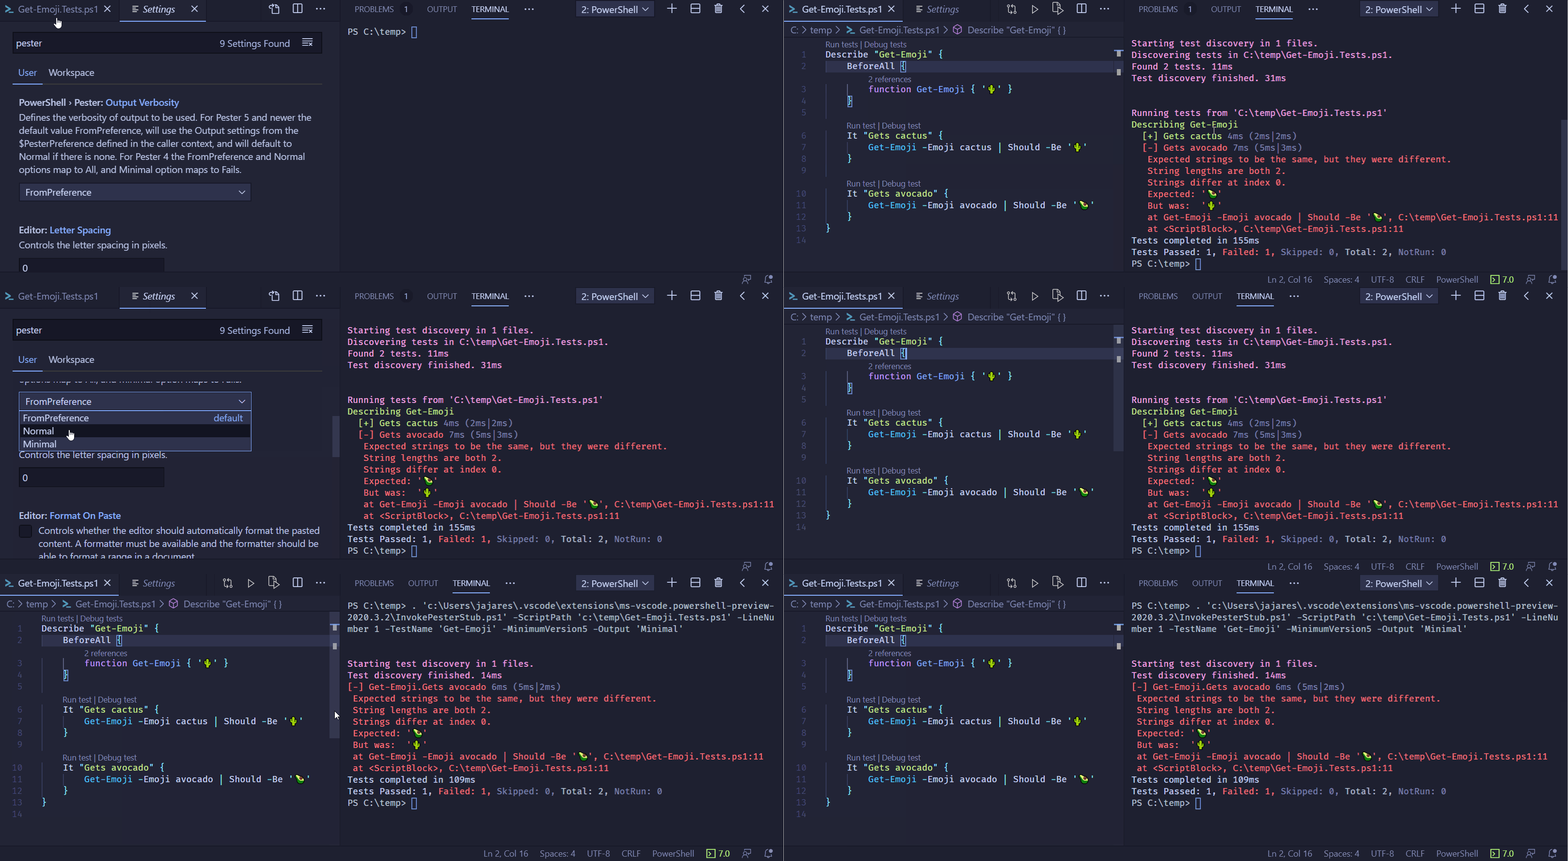
You can control the output verbosity level in VSCode output, or let it inherit from PesterPreference.

Navigation
Pester-blocks are recognized by the PowerShell-extension to simplify navigation in your test files.
-
The Outline panle shows an overview of your Pester-blocks.
-
Your current location in easily identified using breadcrumbs or the sticky scroll features.

-
Context,DescribeandItblocks are all searchable using Go to symbol commands.